
Sometimes you might want to use your WLED lighting in a place where there is no network, in that case you can use the hotspot in WLED and then connect to that from the phone to control it. But what if you only need to switch the Light on and off and select a couple of Scener/Profiles? Well that is what this Blog is about
The Idea is to use one button connected to the ESP32 to provide the most basic functionality:
| Short press | Toggle light on/off |
| Dobbel pres | Switch to next preset |
| Long press | DIM the light up/down |
Here is how I managed to configure the WLED controller to do that.
For this Blog I am using the Seeed Studio ESP32-C3 as the controller with a small casing that can use the onboard user button.
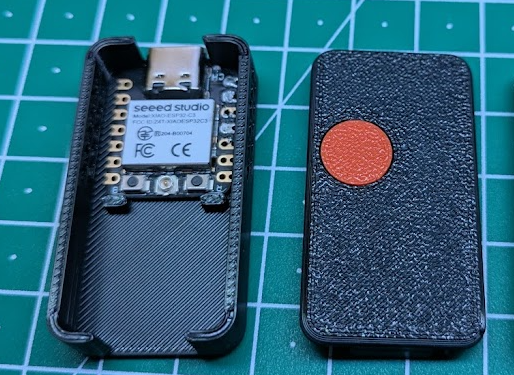
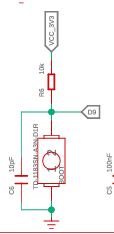
The Onboard button is mapped to D9 (GPIO09) – You can find the case on MakerWorld here: https://makerworld.com/en/models/469059#profileId-378336
And for the test my light strip is connected to D10 (GPIO10)
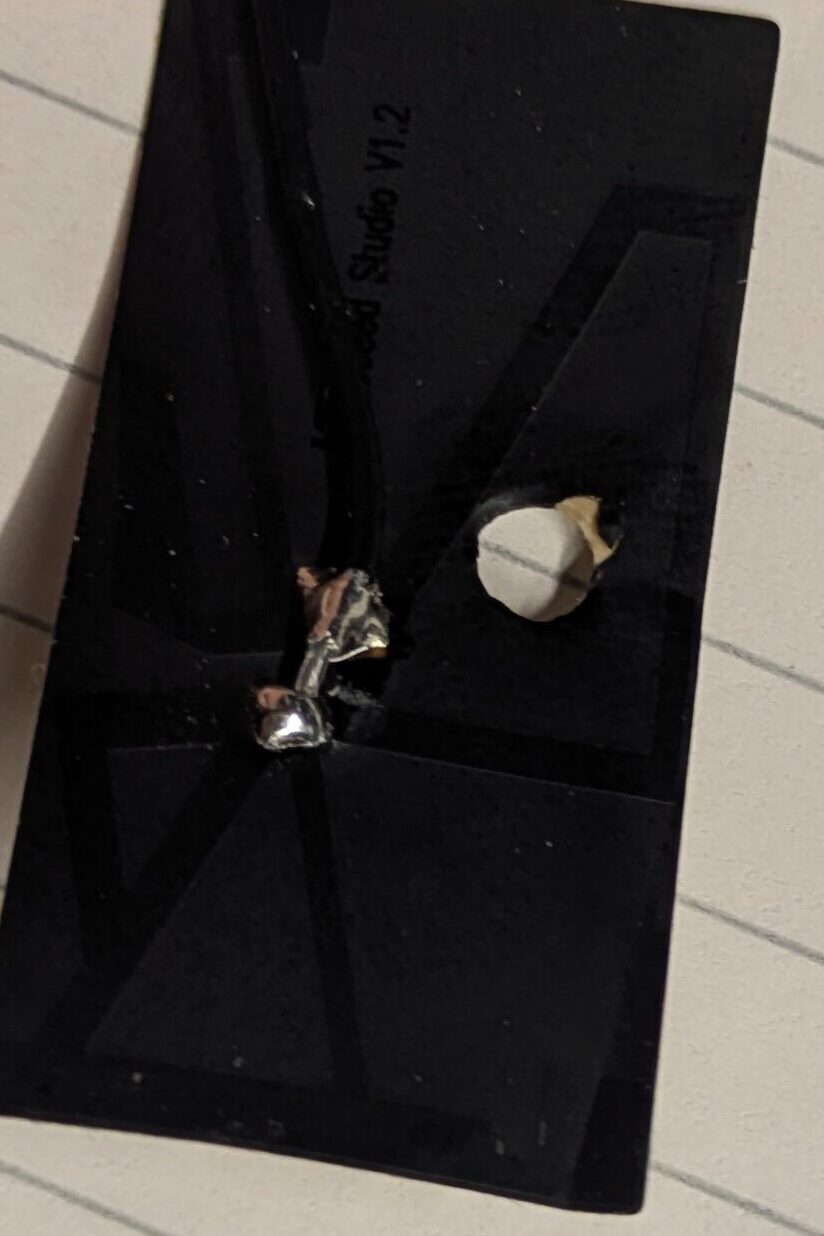
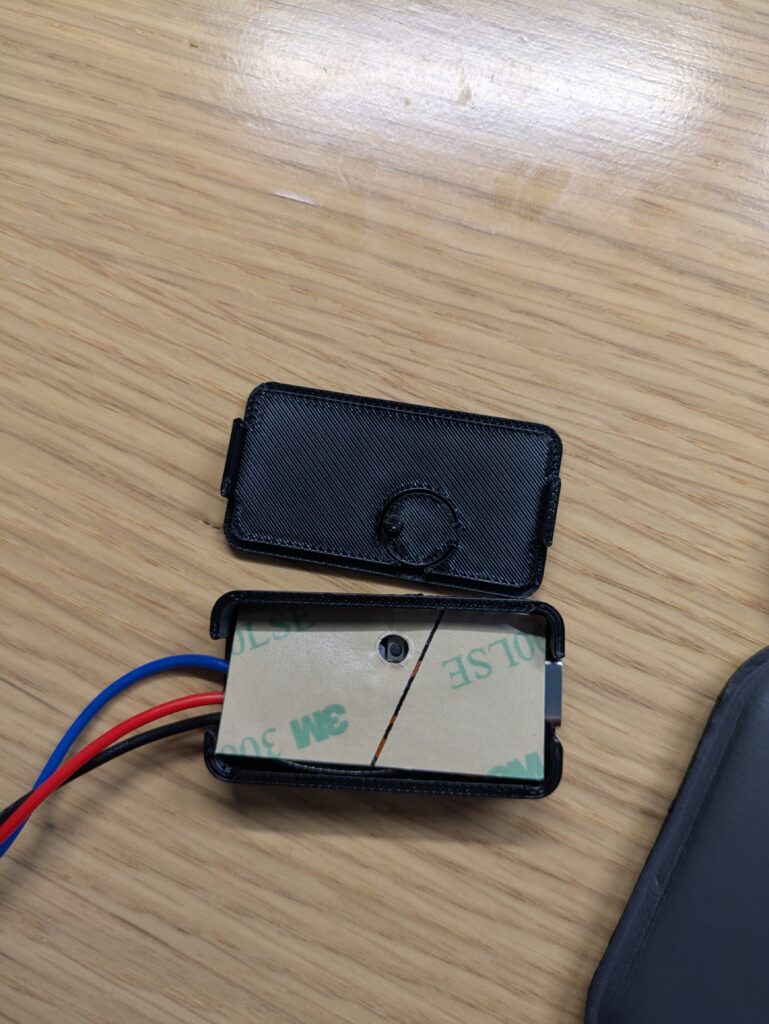
Note how I had to punch a hole in the antenne. Be sure to not cut in to the leading material it is faint but you will be able to see the lines.
The WELD setup
To start with you need to set a couple of Preset, and I recommend to set the default to you most used preset and to switch on when it gets power:

In this case Preset 1.
To set the button you need to do 3 things:
1: Enable the button
This is done in the config In the Button section set one of the buttons to GPIO9 and as a Push button

Be aware that Button has special functions that can erase the ESP32, so I recommend using 1 – 3.
You can read more about buttons here: https://kno.wled.ge/features/macros/#buttons
2: thing is to define the Macros
The Macros need to set up the actions that the buttons should do.
Goto the main screen and the Presets,
- Her create a new preset
- Uncheck use current state
- Give it a name
- The you need to ass a API command for Toggle Power
- Give it a ID – I suggest a higher number that the light preset e.g. 100

Repeat steps for the 2 other macros:

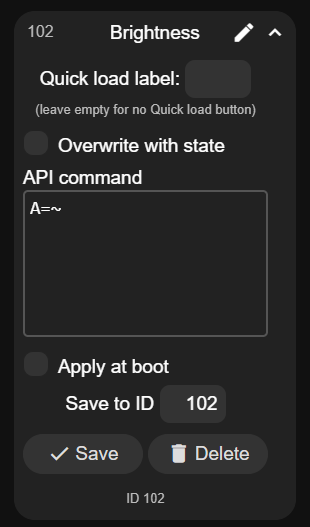
IMPORTANT: Next Preset fill roll between Preset id 1 and 8 – To avoid running the macros. If you add more presets you need to change this number also if you delete presets.
You can see all the API commands here : https://kno.wled.ge/interfaces/http-api/
3: Assign button to Macros
Last thing is to assign the Button to the macros.
Goto Config -> Time & Macros
scroll to the Button Action section and assign the right macros to the ruth action for button 1:

Remember to save settings in the top.
You can read more on macros here: https://kno.wled.ge/features/macros/
Here is a small Video to show the Button in action:
Leave a Reply